PINHOLE CAMERA PROJECT
Pinhole Camera Project
This is group activity in groups of three. After the project is completed students will be required to grade themselves and their partners.
You’re your partner(s) grading of you will influence your overall grade on the project, so make sure work is equally distributed.
The project can be broken into the following stages:
- Build the camera – This involves following the instructions that you research and select.
- Taking pictures – This will require a sunny day or at least semi-bright light.
- Developing pictures – This will usually happen immediately after you take the picture so you can see the results and change your methods accordingly or reevaluate the construction of your camera.
- Photo collage – Your top three photos will be presented along with a positive image. Make sure to include a description of how each picture was taken and what can be seen.
- Reporting – Your group must produce a one page, typed report that details the process of camera construction, picture taking, and picture development. This report should be written in the passive, third person tense.
The camera will also be graded, so plan on turning it in with the collage.
Safety First: When building and developing you will be using sharp tools and dangerous chemicals. Use common sense and follow instructions safely.
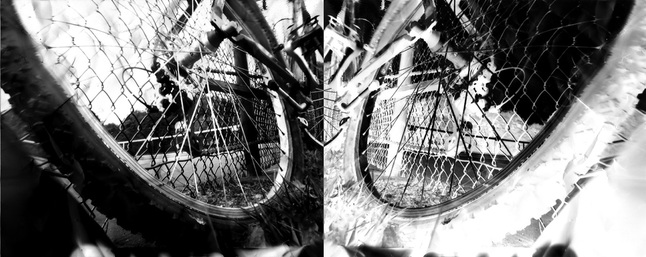
Here are examples of negative and positive images created with a pin hole camera: