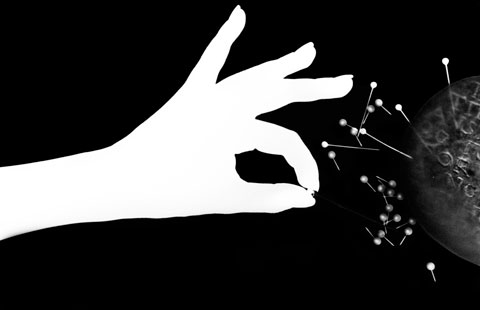
In this lesson, students produce three distinctive photograms to understand how design can communicate ideas. They explore opaque, translucent and transparent objects and combine them to create organic, geometric and symbolic designs. They learn about the technologies and processes of photography. After completing their photograms, students are encouraged to be more articulate about their design choices as they critique their works and write individual artists’ statements.
Category: Photography
Intro to Photography-Photograms
Posted by Niki Cassidy On October 4, 2017
Photo 1- Levitation Photography
Posted by Niki Cassidy On September 27, 2017
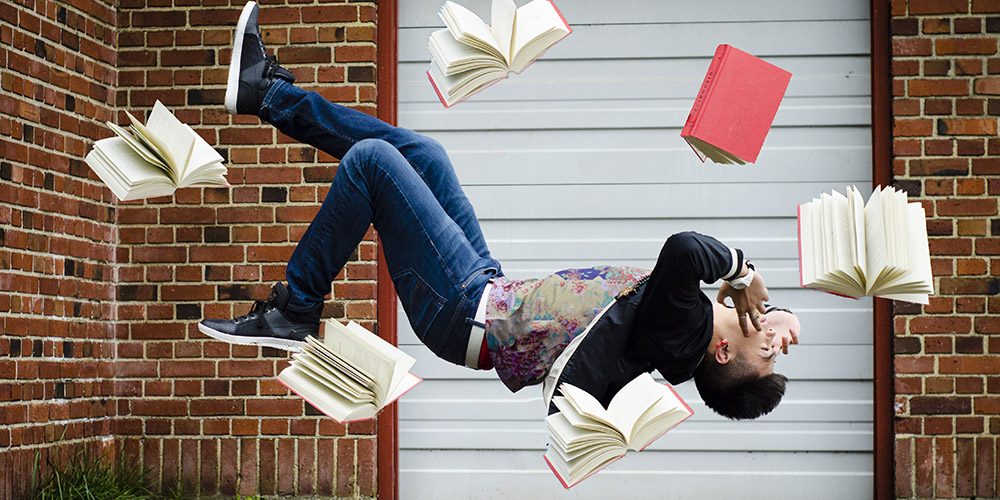
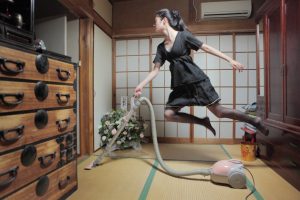
Objective: Approach photography as a creative and artistic outlet. Have some fun creating dream like “levitation” images.
Task: Work with a partner or tripod and timer and remote to set up the scene, any props necessary, lighting etc. to shoot a levitation photo.
This can be done though fast shutter speed and well considered jumping poses or through using a shot with props to “levitate” your subject and a second shot of the background, that can then be combined to eliminate the props.
Tips:
- the pose/posture of the body, drape of clothes and hair etc. are essential for the levitation effect
- decide the mood/emotion you intend to portray
- the location will impact the mood
- consider changing the tones and colors in photoshop
RUBRIC | |
GOALS OF Levitation Photography
|
|
COMPOSITION
|
|
CRAFTSMANSHIP/PRESENTATION
|
|
CREATIVITY
|
|
COMMENTS: | TOTAL——————GRADE—————– |
Advanced Photography-Dramatic Portrait – Form
Posted by Niki Cassidy On September 22, 2017
Dramatic Portrait
Terms: Form, ISO
GOAL: To complete a portrait while adjusting ISO and considering dramatic lighting to show form.
Task: Students will complete a portrait while adjusting ISO and considering dramatic lighting to show form.
CRITERIA:
- 3 images
- Images should each show a different form of dramatic lighting
- Overall piece should show form
- Finished images should be in .jpg format
STEPS:
- Begin by opening one of your photos.
- On the bottom right side, select new layer. Name the layer “gradient”. Hit OK.
- Be sure to work on the new top layer when adding the gradient.
- If you are unhappy with the gradient, you can delete the layer and start over. This only works if you’ve followed the steps above.
- On at least ONE image, apply a gradient.
- If you are happy with the gradient you chose, flatten the image. Do this by RIGHT CLICKING THE BACKGROUND LAYER -> SELECT FLATTEN IMAGE.
- You can now save your file as a .jpg and submit it.
- You can repeat this on the other photos if you choose…as long as at least one photo has an added gradient.
*IMPORTANT: Be sure to always save your file as a .PSD until you are ready to flatten the image and
submit it. If you do not do this and the layers become merged/ image flattened before you’re are
finished, you will not be able to make further changes to those layers.
Video- What are layers in Photoshop?
Adding a Vignette in Photoshop.