One Google Document in Multiple Folders

One File, Two Folders

Sometimes, it can be beneficial to have one Google Document in two different folders. Maybe you are meticulous about organizing your files, but you have a file that could easily be in two different folders.

This can happen when you are collaborating with one group and need to give another group access to the document in a specific folder (for the sake of organization).

*Please note that files can’t be added to Team Drives; they must be moved.

Fortunately, this is easy to do.

  1. Click once on the file that you want to “add” to a different folder (the file should be highlighted in blue).
  2. On your keyboard, press the following keys: Shift + Z.
  3. The “Add” window will open.
    The Add Panel
  4. Navigate to the folder that you want to “Add” the document to. (Note that you will get an > symbol to navigate deeper into folders).
    Add panel selection showing steps above.
  5. Click “ADD” (this will say “ADD HERE” until you select a folder).

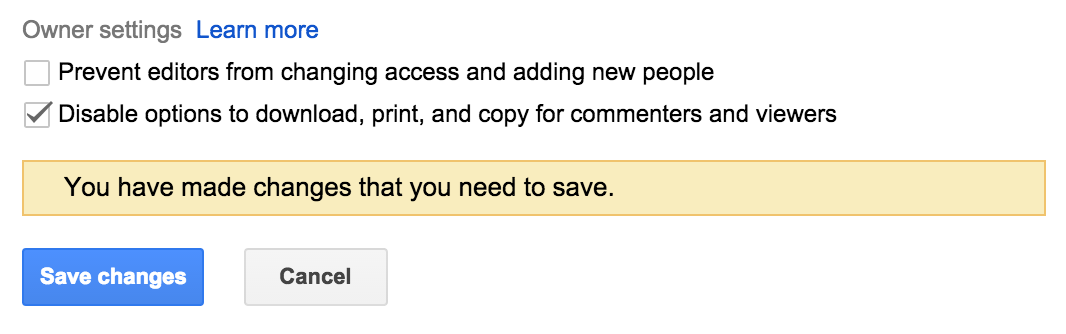
Note that this will mean that there will only be one document. Any changes to the document will be reflected in both folders. Also note that the privileges on that document will be the highest privileges of any document.

Let’s say that you create a Google Doc called “My Great Document” in a folder titled “My Team Work”. Then, you are asked to place this document in a “District Team Work” folder that is shared with lots of people with Editing privileges. Using the method above, you create a link to “My Great Document” and add that to the “District Team Work” folder. Anyone who has editing rights to the “District Team Work” folder will also have editing rights to “My Great Document”.

Removal

Need to remove the file from one folder but not the other?

  1. Simply locate the file (it doesn’t matter which folder).
  2. Click on once to select it.
  3. Click on the i in a circle to reveal the details of the file.
  4. Click the X to the right of the folder from which you want to remove.

Screen shot illustrating steps to remove a document from a folder.

Two Files, Two Folders

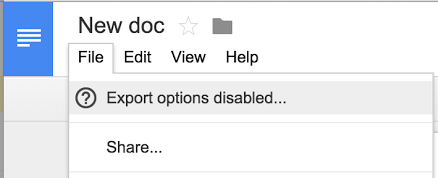
Please note if you want to share a document, but not have the original affected, you can use the File | Make a copy option. That will make a copy of the file at the moment in time. Any changes on one copy will NOT be reflected on the other.


Monitoring Chromebooks

Introducing HiveSchool.

HiveSchool is a connected learning application that lets teachers provide an engaging, collaborative and effective learning experience for their students.

The application enables teachers to present digital content to the class, monitor student activity, keep students on task and assign a variety of learning resources. Designed for ease of use, it requires only a very short learning curve for teachers and students.

Highlights

  • Presents digital content to the class – from the teacher’s or a student’s computer.
  • Live view of student screens, to monitor student activity.
  • Lets teachers control student activity to keep the class on task.
  • Easy management of teaching resources
  • Visual, intuitive class dashboard


I’ve written up a HelpSheet, but I need feedback to improve it before sending it out to all teachers.


Check it out here.

Tip: Using headphones with Chromebooks

Some students have complained that a headset (headphones) won’t work with a Chromebook. Usually, there is a very easy fix:


When using a headset with a Chromebook, the user may need to specifically choose the headset. In other words, by default the Chromebook will play sounds through the internal speaker, even when a headset is plugged in.


If a headset is plugged in, but the user is not hearing sounds:


  • Make sure the headset is fully plugged in.
  • Click on the time in the bottom right hand corner of the screen. A menu will pop up.
  • Click on the arrow to the right of the speaker icon.
  • Click on the word Headphone.
  • Click on the desktop to close the window.


All set. Now the sound will go to the Headphones.

Google Docs Tip

Disable downloading, printing, and copying of any Google Drive file

This new option is available for any file stored in Google Drive, including documents, spreadsheets, and presentations created with Google Docs.

To enable this feature, open the sharing dialogue from any Google document, spreadsheet, presentation, or other file in Drive on the web and click on Advanced in the lower right hand corner. Check the ‘Disable options to download, print, and copy for commenters and viewers’ box and click Save changes.

Notes:

  • This feature can be enabled by file owners only, and on the web only
  • Once this feature is enabled, all entry points for downloading, printing, and copying will be removed from Google Drive, Docs, Sheets, and Slides on all platforms.
  • Google documents, spreadsheets, and presentations for which this feature has been enabled will show a notification at the top of the File and Edit menus

Passwords

Passwords:

A few thoughts on passwords:

Passwords are a necessary evil. Someday, there will be a better system. In the meantime…

Although we generally advise against using the automatic save feature in browsers, we understand why some users use them. It is better than writing down your password on a post it note and hanging that from your monitor. Having the browser save your password can be a time saver. This does come with security issues though. Once you sign in to the computer, if you leave your browser open and someone is sitting at your computer, they would have access to any sites that you’ve saved in the browser.

Please be aware that for many of our users, once they save a password in the browser, they then forget the password. This can cause trouble when the password needs to be changed. If you need to change your password, here is how you can find it:

Chrome:

  1. Click on the “Hamburger” button (3 lines along the right side of the browser window)
  2. Select “Settings”
  3. Scroll down and select “Show advanced settings…”
  4. In the Passwords and forms section, select “Manage passwords”
  5. Search for the password or scroll through the list
  6. Click on the dots following the URL of the site (a “Show” button will appear)
  7. Click the “Show” button.
  8. You should be prompted for your password (the one that you used to sign into the computer). enter your password.
  9. Your password will be revealed. You can now click on “Show” any of the other passwords to reveal those as well.
  10. Clicking on the X at the end will delete the entry (thus, your password will not be saved for that site.
  11. Click “Done” at the bottom of the window.
  12. Close the tab.

FireFox

  1. Click on the “Hamburger” button (3 lines along the right side of the browser window).
  2. Click on “Options”
  3. Click on Security
  4. Click on “Saved passwords”
  5. Search or scroll to find the URL of the site you want to see the password
  6. Click the “Show password” button
  7. Click “Yes” to the pop up “Are you sure that you want to show your passwords”
  8. Warning: this will display all of your passwords
  9. * To delete passwords, click on the URL and then click on the Remove button.
  10. Click “Close”

(There are better ways of managing your passwords. I personally use 1Password. This is not free, but it does allow me to have super secure passwords everywhere. LastPass is a free option (with pay to sync with mobile devices) that will do mostly the same thing).

SPAM

Please remember to check your Spam folder in your email occasionally. Sometimes, legitimate email gets “caught” in the Spam filter. This is especially true when a large amount of email is sent out (especially if it includes links). One example would be email that was recently sent from ACT.

Spam is automatically deleted every 30 days. Thus, it is a good idea to check the Spam folder every couple of weeks (hint: a recurring event every 2 weeks on your calendar can be a good reminder).

To check your Spam folder, just click on the Spam tag (probably about 6 tags below the Inbox on the left hand pane of Gmail. I generally scroll through looking at the Sender name.

  • If you identify anything that is NOT Spam, select the message, then click the Not Spam button along the top.
  • I generally click the “Check all” box, and click “Delete Forever” as I finish a screen of Spam. Spam (342) - pattert@dearbornschools.org - Dearborn Public Schools Mail 2014-10-22 16-38-45

McDonald Hang Out Day.

We are very pleased to work with the wonderful McDonald Staff. We had the opportunity to share a wide variety of techniques. Some staff members learned about using Google Drive, understanding Gmail, posting to iBlog from a phone, organizing iBlog, posting to iBlog, using iLearn and more.

Follow this blog

Get every new post delivered right to your inbox.